
Let’s dive into the world of microgreens, these tiny but mighty plants that pack a nutritional punch and can be grown right on your windowsill! Whether you’re a seasoned gardener or just starting out, I’ll walk you through every step to ensure your microgreen adventure is a success.
Key Takeaways
Microgreens are easy to grow and are ready to harvest in just 2-3 weeks.
Choosing the right seeds and supplies is crucial for a bountiful microgreen harvest.
Proper sowing techniques and environmental conditions can greatly improve germination and growth.
Lighting, watering, and nutrition are key factors in raising healthy microgreens.
Harvesting at the right time maximizes flavor and extends the shelf life of your microgreens.
Understanding Microgreen Basics and Benefits
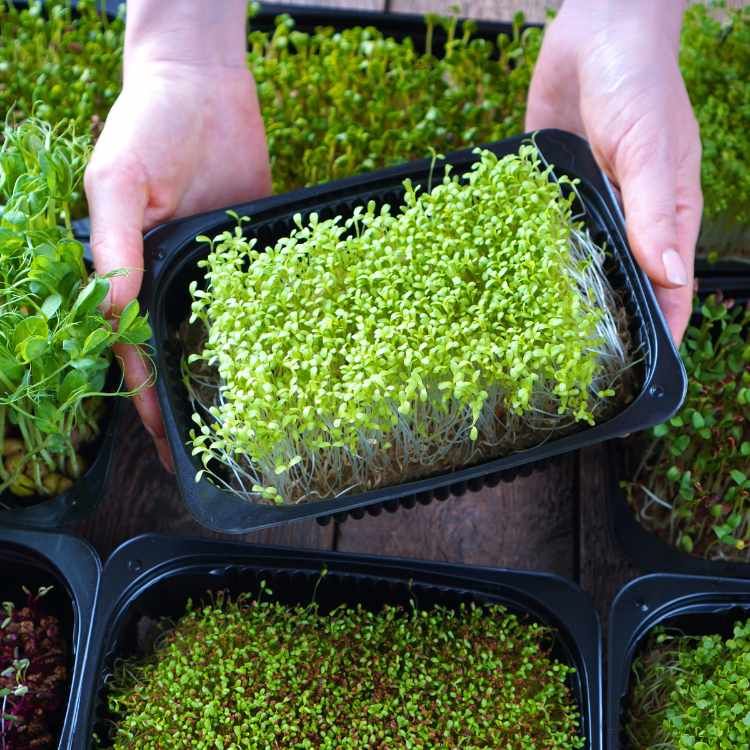
Microgreens are young vegetable greens that fall somewhere between sprouts and baby leaf vegetables. They are harvested just after the first leaves have developed. But why grow them? Besides their vibrant colors and intense flavors, they’re nutritional powerhouses, often containing higher vitamin, mineral, and antioxidant levels than mature greens. Because of their size, they’re perfect for urban dwellers with limited space.
Choosing the Right Seeds and Supplies
Before we plant, let’s get our supplies in order. Here’s what you’ll need:
A selection of microgreen seeds, such as radish, kale, or arugula.
Shallow trays or containers with drainage holes.
A quality soil mix, preferably organic and fine-grained.
A spray bottle for gentle watering.
Grow lights or a sunny windowsill for adequate light.
When picking seeds, opt for organic when possible to ensure your greens are free from harmful chemicals. And don’t forget, quality matters – fresh, high-germination rate seeds lead to a more successful crop.
Mastering the Art of Sowing for Success
Sowing your seeds evenly is the first step towards a lush green harvest. Sprinkle them across the surface of your soil – not too dense, to give each seedling room to grow. Then, gently press them into the soil with your hand or a flat object. A light dusting of soil can be used to cover the seeds, but remember, they need light to germinate, so don’t bury them too deep. For more detailed guidance, check out these valuable tips to grow healthy microgreens.
Moisture is vital at this stage, so mist your seeds with a spray bottle until the soil is damp but not soggy. Covering the tray with a lid or plastic wrap can help maintain humidity, just be sure to remove it once you see the seeds sprouting.
And remember, patience is key. Most microgreens will germinate within 3-7 days, but some varieties may take a little longer. Keep them moist and watch the magic happen.
Spacing Tips to Maximize Harvest
Spacing is more of an art than a science when it comes to microgreens. You want to aim for a happy medium – too close, and they’ll compete for light and air, too far apart, and you’re not using your space efficiently. A good rule of thumb is to sow seeds about one-eighth to one-quarter of an inch apart. This ensures that each microgreen has enough room to grow without wasting precious tray real estate.
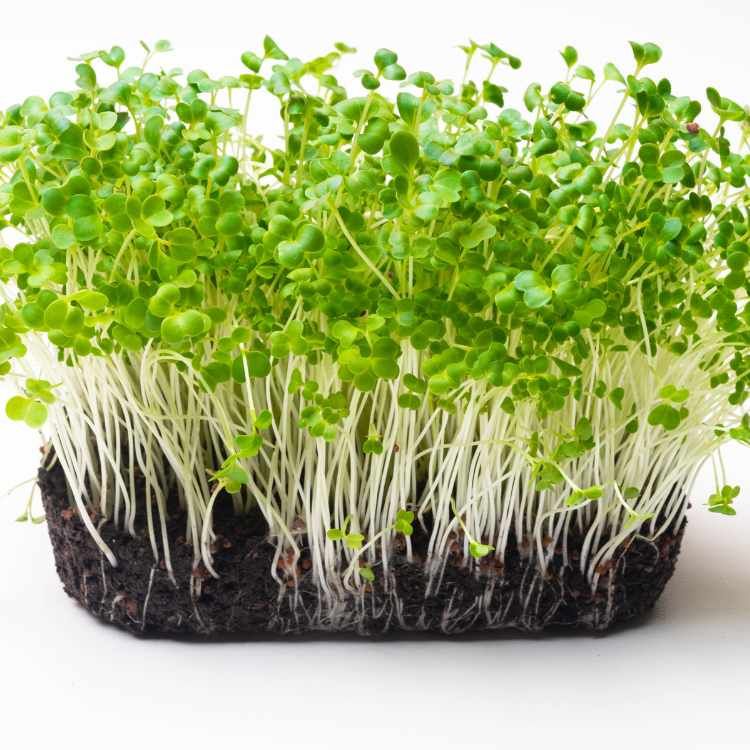
Container Choices for Healthy Root Development
The right container sets the stage for robust root development. Shallow trays are typically used for microgreens because they don’t need much soil – an inch or two is plenty. Ensure your trays have drainage holes to prevent waterlogging. You can also get creative and upcycle containers like egg cartons or produce clamshells, just be sure to poke holes for drainage. The key is to provide a stable environment where roots can spread out and absorb nutrients efficiently.
Light, Water, and Nutrition
Now that we’ve got our seeds snug in their soil beds, let’s talk about what they need to thrive: light, water, and nutrition. These elements are the trifecta of successful microgreen growth.
Lighting Requirements for Vibrant Microgreens
Light is like a power-up for plants, and microgreens are no exception. They need plenty of it to photosynthesize and grow strong. If you’re using a windowsill, a south-facing one is ideal. No sunny spot? No problem. Grow lights are a great alternative and can be set up easily. Aim for at least 12-16 hours of light per day for the best results.
Watering Methods to Prevent Mold and Damping Off
Watering is a delicate balance – too much, and you risk mold or ‘damping off,’ a fungal disease that can be devastating. To avoid this, use a spray bottle to mist your greens, keeping the soil moist but not waterlogged. As they grow, you can switch to bottom watering by adding water to the tray beneath your container, which encourages roots to reach down and strengthens them.
Fertilization Needs for Peak Performance
While microgreens can get by without fertilizer due to their short growing cycle, a little boost can help. If you choose to fertilize, opt for a diluted, organic liquid fertilizer. Apply it sparingly – you’re just giving them a little extra pep, not a full meal. This can be particularly helpful if you’re growing a second crop from the same soil.
Air Flow and Temperature Control
Let’s clear the air – literally. Good airflow is crucial in preventing disease and promoting strong, healthy growth.
Creating the Perfect Climate Indoors
Your home is your microgreen’s world, so let’s make it a comfortable one. They prefer a consistent temperature between 60-75°F. Sudden changes can shock these little guys, so try to keep their environment stable. If you’re growing in a particularly warm or stuffy room, consider using a fan to improve air circulation.
When and How to Use Fans for Air Circulation
Fans aren’t just for keeping you cool – they’re great for your greens too. A gentle breeze from a fan can prevent mold and strengthen stems as they sway slightly in the wind. Just remember, we’re not creating a storm – a soft, indirect breeze is all they need. Keep the fan on a low setting and position it so that it doesn’t blow directly on your trays.
Best Practices for Temperature Regulation
Consistency is key when it comes to temperature. If you find the room fluctuating, you can use a small space heater or a heat mat specifically designed for plants to maintain a steady warmth. Just monitor the temperature closely – we don’t want our microgreen friends to overheat.
Harvesting Techniques for Freshness and Flavor
Harvesting is the grand finale of your microgreen growing journey. It’s when you get to reap the rewards of your careful tending.
The Right Time to Harvest Microgreens
Timing is everything. Harvest your microgreens when they have developed their first true leaves, which usually happens around 2-3 weeks after sowing. They should be about 1-3 inches tall. The cotyledons, or first leaves, will be fully developed, and the true leaves will just be emerging. This is when they’re at their peak of flavor and nutrition.
Methods to Harvest without Harming Plants
When it’s time to harvest, a sharp pair of scissors or a knife will be your best friend. Gently hold a clump of microgreens and snip them just above the soil line. Be careful not to pull, as this can disturb the roots and soil. Harvest only what you need, and they’ll stay fresh right in their tray.
For example, if you’re growing radishes, their spicy flavor is strongest when harvested young. Waiting too long can result in a more fibrous and less flavorful green.
After harvesting, it’s important to store your microgreens properly to extend their freshness. Keep them in an airtight container in the refrigerator, and they should last for about a week. If you’ve rinsed them, make sure they’re dry before storing to prevent spoilage.
Now, let’s tackle some common issues you might encounter. With a bit of know-how, you can keep your microgreens thriving.
Troubleshooting Common Growth Issues
Despite your best efforts, sometimes things can go awry. Don’t worry, though – most problems with microgreens are easily fixed once you know what to look for.
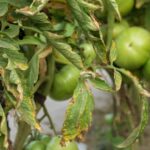
Identifying and Managing Mold Infestations
Mold can be a common issue, especially in environments with poor air circulation or excessive moisture. If you spot fuzzy white growth, it’s time to act. Improve airflow immediately, perhaps with a fan, and reduce watering. Sometimes, removing affected areas and adjusting your care can save a crop, but if the mold has spread too far, it’s best to start over with fresh soil and seeds to prevent contamination.
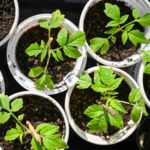
Addressing Poor Germination and Weak Seedlings
Poor germination can be due to old seeds, incorrect planting depth, or inadequate moisture. Make sure your seeds are fresh, planted shallowly, and kept consistently moist. Weak seedlings often suffer from inadequate light, so ensure they’re getting enough brightness, or consider using a grow light. Also, a little boost from a weak fertilizer solution can help strengthen those feeble sprouts.
When seedlings are leggy and pale, they’re reaching for light, indicating they’re not getting enough. Move them closer to your light source, and you’ll see them perk up and deepen in color.
Combatting Pests Organically within a Microgreens System
It’s rare, but pests can find their way to your indoor greens. If you encounter tiny invaders, don’t panic. Many organic solutions can help, such as neem oil or insecticidal soap. Remember, prevention is key, so keep your growing area clean and check your plants regularly for any signs of trouble.
Learn More and Get Started Today!
Ready to dive into the world of microgreens? Check out our detailed articles and browse our collection of high-quality seeds. Visit Survival Essentials for more information.
Frequently Asked Questions (FAQ)
Before we wrap up, let’s address some common questions that might be on your mind.
Can Microgreens Be Reharvested?
Typically, microgreens are harvested only once as they are cut at the soil line. However, if a few leaves are left intact, some varieties may regrow for a second, smaller harvest. But for the most part, plan on sowing a new batch after each harvest for a continuous supply.
Are Grow Lights Necessary for Microgreens?
While grow lights are not absolutely necessary if you have a sunny spot, they can ensure consistent and robust growth, especially in the darker months or climates. They’re a worthwhile investment if you’re serious about year-round growing.
How Often Should Microgreens Be Watered?
Keep the soil moist, but not waterlogged, with daily misting.
As they grow, water less frequently but more deeply to encourage strong roots.
Use bottom watering to reduce the risk of mold and overwatering.
Monitoring your microgreens daily will give you a sense of their watering needs. They’ll let you know if they’re thirsty!
And there you have it – everything you need to start your microgreen journey. Remember, these little greens aren’t just a garnish; they’re a versatile, nutritious, and delicious addition to your diet. So grab some seeds, soil, and get growing!
What Is the Average Time from Seed to Harvest for Microgreens?
Most microgreens are ready to harvest in 2-3 weeks after planting. This can vary slightly depending on the variety and growing conditions, but it’s a quick turnaround, making them an ideal crop for beginners and those looking for speedy results.
Can You Grow Microgreens Without Soil?
Absolutely! Hydroponic systems, where plants are grown in a water-based, nutrient-rich solution, are a soil-free option for growing microgreens. Some growers prefer this method as it can be cleaner and may reduce the risk of soil-borne diseases. However, it requires a bit more setup and maintenance than traditional soil-based methods.


Leave a Reply