Key Takeaways
- Hydroponic Swiss chard can be grown indoors, requiring minimal space and yielding fresh produce year-round.
- The ideal pH level for Swiss chard is between 5.5 and 6.8, with an EC range of 1.8-2.3.
- Swiss chard thrives under 14-16 hours of light per day, making it perfect for indoor hydroponic systems.
- Regular maintenance includes checking nutrient solutions, pH levels, and pruning to encourage growth.
- Getting started with hydroponic Swiss chard is simple, with a variety of systems suitable for beginners to experts.
Hydroponic Swiss Chard: Innovative Indoor Urban Gardening Techniques & Tips
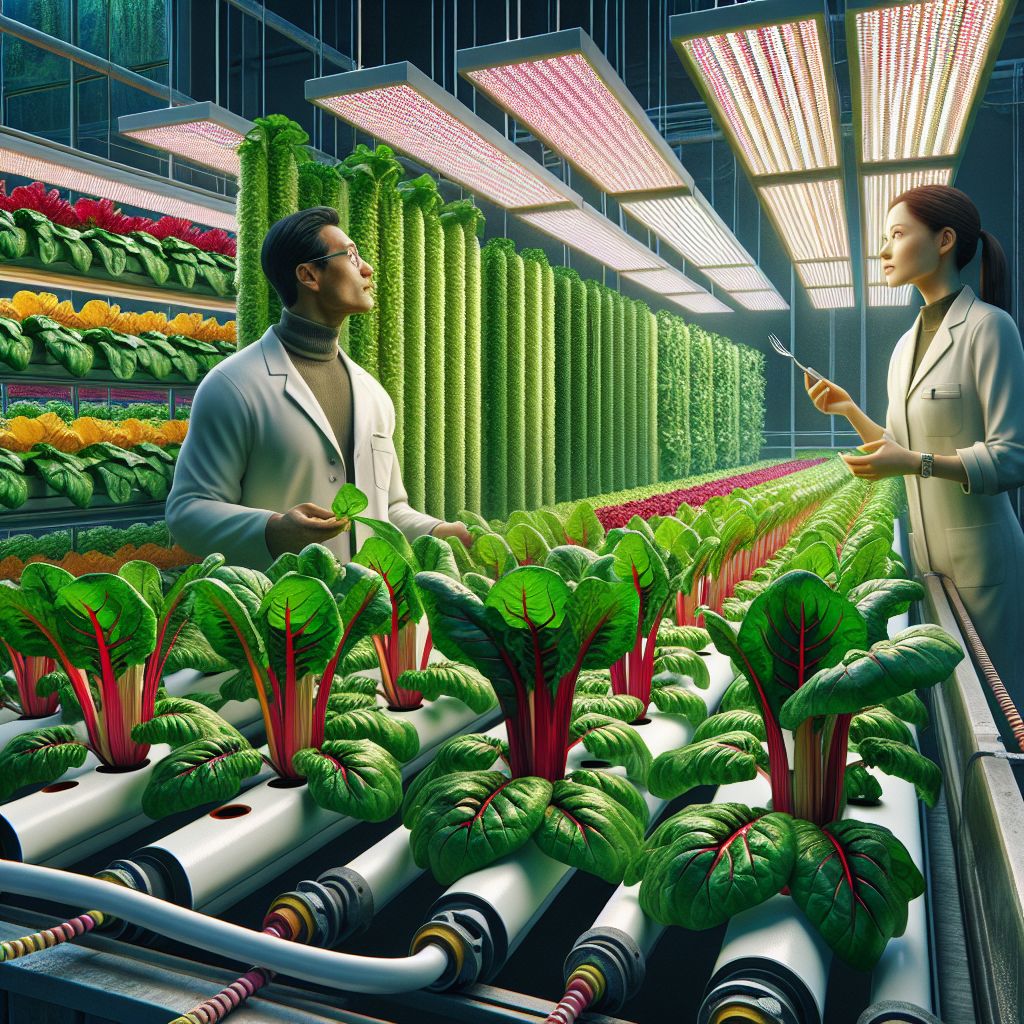
Gardening in the city can be a challenge, but it’s not impossible. In fact, with the right techniques, you can grow vibrant Swiss chard right in your living room. Hydroponics, the art of growing plants without soil, opens up a world of possibilities for urban dwellers. Let’s dive into the world of hydroponic Swiss chard and turn your home into a green sanctuary.
Maximize Your Yield with These Hydroponic Swiss Chard Tips
Swiss chard is not only nutritious but also a stunning plant to grow. With hydroponics, you can enjoy an abundant harvest of this leafy green. Remember, the key to a bountiful yield is maintaining a consistent environment and monitoring your plants closely. Here’s how you can ensure your Swiss chard thrives:
- Ensure your chard gets plenty of light; if natural light is limited, invest in quality grow lights.
- Keep the nutrient solution well-balanced; Swiss chard enjoys a rich mix that caters to leafy greens.
- Monitor the pH and EC levels regularly to prevent nutrient lockout or deficiencies.
Setup Essentials for Your Indoor Swiss Chard Garden
Before you start, you’ll need a few essentials. First, choose a hydroponic system that fits your space and budget. Then, gather your supplies: Swiss chard seeds, a nutrient solution formulated for leafy greens, a pH testing kit, and a light source. These tools will set the foundation for a thriving indoor garden.
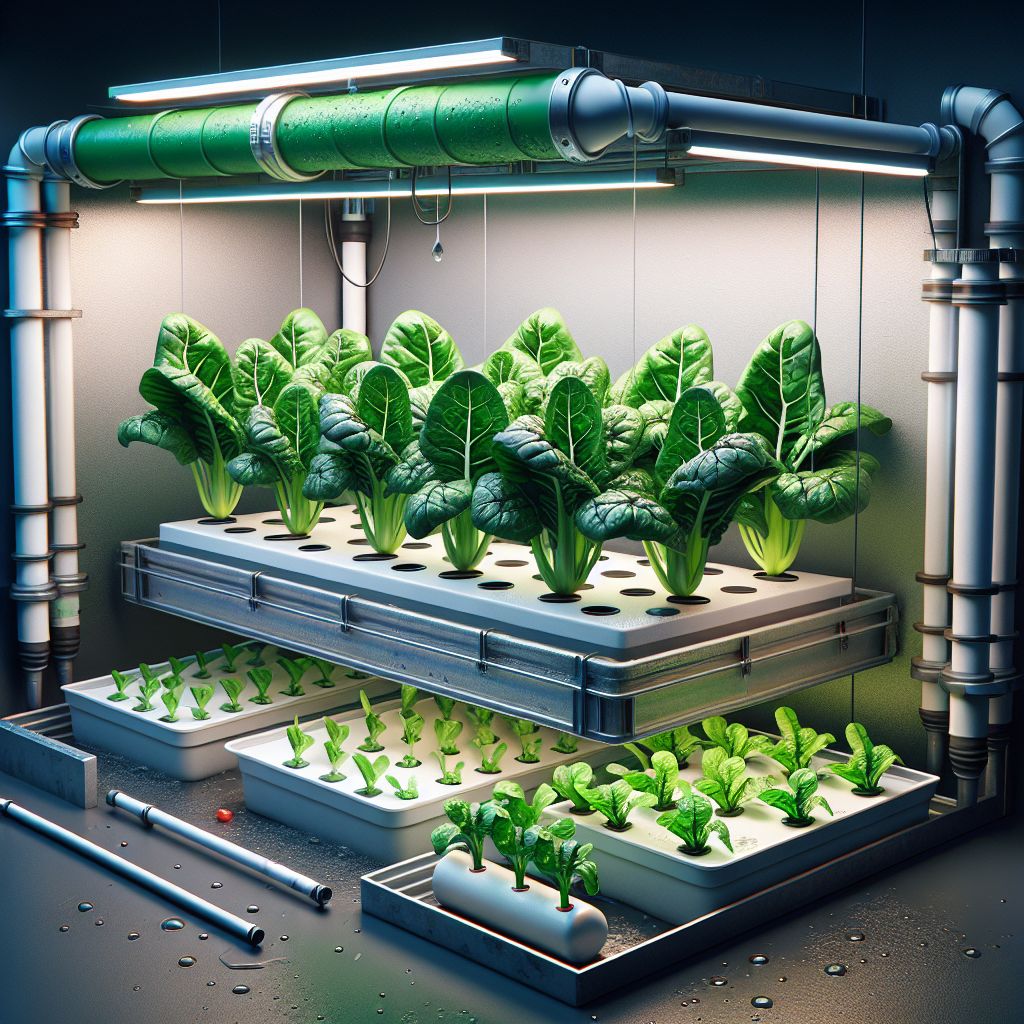
Choosing the Right Hydroponic System for Swiss Chard
There are several hydroponic systems available, but not all are created equal when it comes to growing Swiss chard. Here’s a quick rundown:
- Deep Water Culture (DWC): Ideal for beginners, this system suspends the plant roots in a nutrient-rich solution, providing constant access to food and water.
- Nutrient Film Technique (NFT): Great for space-saving, NFT allows a continuous flow of nutrient solution over the roots, perfect for fast-growing Swiss chard.
- Ebb and Flow: This system periodically floods the roots with nutrients before draining, mimicking natural cycles.
Choose a system that aligns with your commitment level and space constraints. DWC is low-maintenance and perfect for those just starting out, while NFT can cater to those looking for a more streamlined setup.
Optimal Conditions for Growing Swiss Chard Hydroponically
Swiss chard isn’t too picky, but it does have some preferences. Aim for a pH level between 5.5 and 6.8 to ensure your chard can absorb all the nutrients it needs. An EC range of 1.8-2.3 will keep your chard happy and healthy. And don’t forget the light; aim for 14-16 hours of light per day to mimic the long days of summer chard loves so much.
Nutrient Solutions: Feeding Your Swiss Chard
Just like we need a balanced diet to thrive, so does Swiss chard. The secret sauce to lush, leafy greens is a nutrient-rich solution. Go for a hydroponic mix that’s high in nitrogen to encourage leaf growth. Mix your solution according to the instructions, and remember to refresh it every two weeks to keep your chard at its best.
Growth Stages and Care Instructions
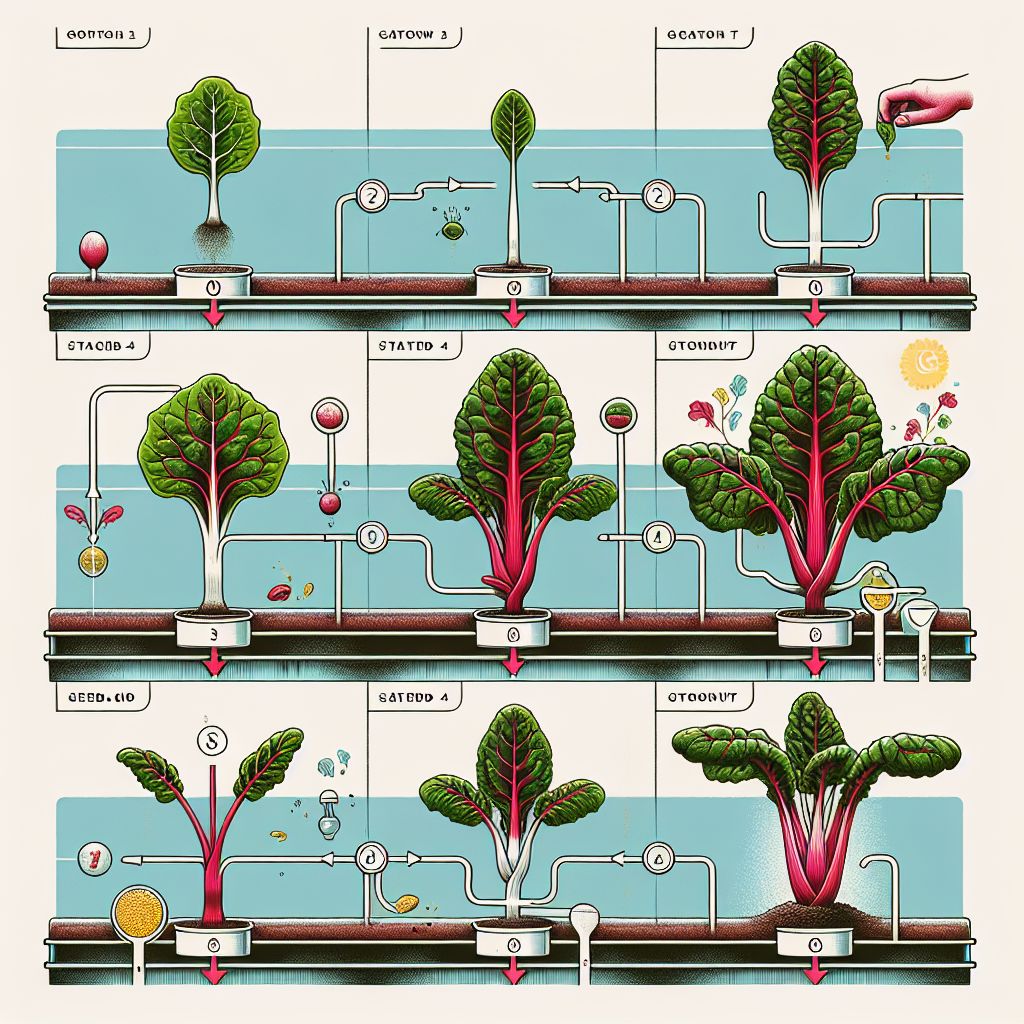
Watching your Swiss chard grow is like observing a slow dance where each step is crucial. From seed to harvest, your chard will go through a series of growth stages, each with its own needs. By understanding these stages, you can provide tailored care that ensures your plants not only survive but thrive.
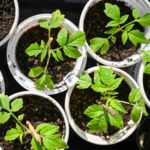
From Seed to Seedling: Getting Your Swiss Chard Started
Getting started is simple. Plant your Swiss chard seeds in a rockwool cube or a similar growing medium. Keep the medium moist, but not soaked, and in no time, you’ll see the first sprouts. Once they’ve got a few leaves, it’s time to move them to your hydroponic system. Remember, gentle hands lead to healthy plants.
Maintenance Mode: Regular Pruning and Nutrient Checks
As your chard grows, regular check-ups are key. Prune any yellowing leaves to direct energy to the healthy ones. Keep an eye on your nutrient solution’s pH and EC levels with weekly tests. This is like a routine check-up for your plants, ensuring they have everything they need to grow strong.
Preventing Common Pests and Problems
Hydroponic systems are less prone to pests, but it’s not impossible for them to visit. Keep an eye out for aphids or whiteflies, and use organic insecticidal soaps if needed. Prevention is better than cure, so keep your growing area clean and your plants healthy to avoid uninvited guests.
For example, if you spot aphids on your plants, a quick fix is to gently spray them with a mixture of water and a few drops of dish soap. This homemade remedy is gentle on your chard but tough on pests.
But remember, the best defense is a strong offense. A well-maintained hydroponic system and robust plants are your first line of defense against pests and diseases.
Harvesting and Enjoying Your Swiss Chard
The moment of truth has arrived: harvest time. This is when you get to enjoy the fruits of your labor, or in this case, the leaves of your labor. Swiss chard can be harvested leaf by leaf or by cutting the whole plant just above the base. Either way, you’re in for a treat.
When to Harvest for the Best Flavor and Texture
Harvest your Swiss chard when the leaves are bright, vibrant, and about 8-12 inches long. This size is perfect for ensuring tender leaves and the best flavor. Most importantly, harvest in the morning when the leaves are crisp and full of moisture.
Harvesting is straightforward – use clean scissors or a knife to cut the leaves, and be sure not to damage the plant’s crown if you plan on continued growth. With the right care, Swiss chard can provide multiple harvests from a single plant.
- Harvest leaves individually for a continual supply.
- Cut the entire plant for a larger, one-time harvest.
- Leave at least an inch of growth if you want the plant to regrow.
By following these simple steps, you can enjoy a steady stream of Swiss chard from your indoor garden.
Post-Harvest Handling and Storage Tips
After harvesting, rinse your Swiss chard leaves under cool water to remove any residue. To store, wrap the leaves in a paper towel and place them in a plastic bag in the refrigerator. They should stay fresh for about a week. But let’s be honest, they’re so delicious, they probably won’t last that long.
Incorporating Swiss Chard into Your Recipes
Swiss chard is as versatile as it is delicious. Sauté it with garlic for a simple side dish, toss it into a smoothie for a nutrient boost, or use it as a colorful addition to omelets and quiches. Its mild flavor makes it a perfect green for both raw and cooked dishes.
Here’s a quick and easy recipe to get you started:
Garlic Sautéed Swiss Chard: Heat a splash of olive oil in a pan, add minced garlic, and cook until fragrant. Toss in chopped Swiss chard leaves and stems, cook until wilted, and finish with a squeeze of lemon juice and a pinch of salt. Simple, yet incredibly satisfying.
Scaling Up: Taking Your Swiss Chard Production to the Next Level
Once you’ve mastered the basics, why not expand your indoor garden? Adding more hydroponic units or trying different varieties of Swiss chard can enhance your urban garden’s diversity and yield.
Experiment with different systems or scale up your current setup. There’s always room to grow, and the more you do, the more you’ll harvest. It’s a rewarding cycle that benefits both your plate and your well-being.
And don’t forget to share the joy. Swiss chard makes a great gift, and sharing your harvest with friends and neighbors can inspire more urban green thumbs in your community.
Advanced Techniques for Higher Yield
For those of you who have caught the hydroponic bug and are looking for ways to boost your Swiss chard production, it’s time to talk about advanced techniques. These methods require a bit more knowledge and effort, but the results can be astounding. Let’s get into it.
Firstly, consider supplementing your nutrient solution with additives like calcium and magnesium, which are especially beneficial for leafy greens like Swiss chard. Another tip is to experiment with different light spectrums to encourage more robust growth. Plants respond differently to various light wavelengths, and finding the sweet spot for Swiss chard could make all the difference.
- Use additives like Cal-Mag to enhance nutrient solutions.
- Experiment with LED grow lights that offer a full spectrum of light.
- Implement a CO2 system to boost photosynthesis and plant growth.
Remember, these techniques are more suited to those who have a bit of experience under their belts. If you’re new to hydroponics, it’s best to master the basics before diving into these more complex methods.
Community Sharing and Selling Your Swiss Chard
Are you ready to turn your hydroponic Swiss chard garden into a thriving community endeavor? It’s time to share the fruits of your labor and make a positive impact in your neighborhood. Whether you choose to donate your Swiss chard to local food pantries or sell it at farmer’s markets or to local restaurants, there are plenty of opportunities to create connections and contribute to a healthier community.
Imagine the satisfaction of seeing others enjoy the delicious, nutritious Swiss chard that you’ve grown with your own green thumb. By sharing your abundance with neighbors, you not only foster a sense of community but also help those in need. Local food pantries will be grateful for the fresh produce that can make a difference in the lives of families and individuals facing food insecurity.
If you’re looking to turn your passion for gardening into a profitable venture, consider selling your Swiss chard at farmer’s markets or directly to local restaurants. Chefs are always on the lookout for high-quality, locally-sourced ingredients, and your Swiss chard could be the star of their dishes. Not only will you be earning some extra green bills, but you’ll also be supporting the local economy and promoting sustainable farming practices.
Remember, urban gardening is about more than just self-sufficiency. It’s about creating connections within your community and contributing to a healthier, more sustainable future. Your indoor Swiss chard garden has the potential to inspire others in your neighborhood to join in and embrace the green movement.
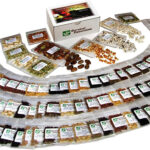
So, whether you choose to share your Swiss chard with neighbors, donate it to local food pantries, or sell it at farmer’s markets or to local restaurants, take action today. Visit our website at Survival Essentials to explore high-quality Swiss chard seeds. With our premium seeds, you can start growing your own Swiss chard and experience the joy of sharing and selling your homegrown produce.
Start making a difference in your community and watch as your indoor garden becomes a catalyst for change. Together, we can create a greener, healthier future for all. Get started now by purchasing Swiss chard seeds from our website at [website link]. Happy gardening!
FAQ
Now, let’s tackle some frequently asked questions that might be on your mind. These are common curiosities for new and experienced growers alike, and knowing the answers will help ensure your hydroponic Swiss chard garden is a success.
What is the ideal pH level for hydroponic Swiss chard?
The sweet spot for hydroponic Swiss chard is a pH level between 5.5 and 6.8. Maintaining this range ensures that your plants can take up nutrients effectively. Test your solution regularly and adjust as necessary using pH up or down solutions.
How often should I replace the nutrient solution in my hydroponic system?
Generally, you should replace the nutrient solution in your hydroponic system every two to three weeks. This prevents nutrient imbalances and the buildup of salts that can harm your Swiss chard. Always check your system’s guidelines, as some may have specific requirements.
Can I grow Swiss chard hydroponically if I don’t have a lot of space?
Absolutely! One of the biggest advantages of hydroponics is its space efficiency. Vertical hydroponic systems, in particular, are perfect for tight spaces, allowing you to grow upwards instead of outwards. With these systems, even a small balcony or kitchen corner can become a productive garden spot.
Compact systems like the DWC or NFT are excellent choices for small spaces. They are designed to maximize growth in a minimal footprint, ensuring you can enjoy fresh Swiss chard without needing a large area.
What are the best hydroponic systems for beginners wanting to grow Swiss chard?
For beginners, I recommend starting with a simple Deep Water Culture (DWC) system. It’s easy to set up and manage, and it provides a great learning environment for understanding the basics of hydroponics. Another beginner-friendly option is the Ebb and Flow system, which is slightly more advanced but still manageable for newcomers.
How do I manage pests in a hydroponic Swiss chard garden?
Hydroponic gardens tend to have fewer pest issues than traditional soil gardens, but they’re not immune. Keep your growing area clean and monitor your plants regularly for signs of pests. If you do encounter pests, opt for organic solutions like neem oil or insecticidal soap. Prevention is key, so maintain a healthy growing environment to deter pests before they become a problem.
Indoor urban gardening has gained popularity, especially for growing herbs and vegetables like Swiss chard. Swiss chard can thrive in a hydroponic system, which allows for a controlled environment away from pests and soil-borne diseases. By using a hydroponic setup, urban dwellers can enjoy fresh, nutritious greens year-round. For those new to this method, it’s important to follow step-by-step growing instructions to ensure a successful harvest.