Key Takeaways
- Home canning and fermentation are critical skills for extending the shelf life of foods and enhancing self-sufficiency.
- Proper canning techniques can prevent food spoilage and ensure a safe food supply.
- Fermented foods offer health benefits, including improved digestion and nutrient absorption.
- Starting with the right equipment and understanding safety basics are vital steps in home canning.
- Simple recipes like making jams or pickles can be an excellent introduction to canning for beginners.
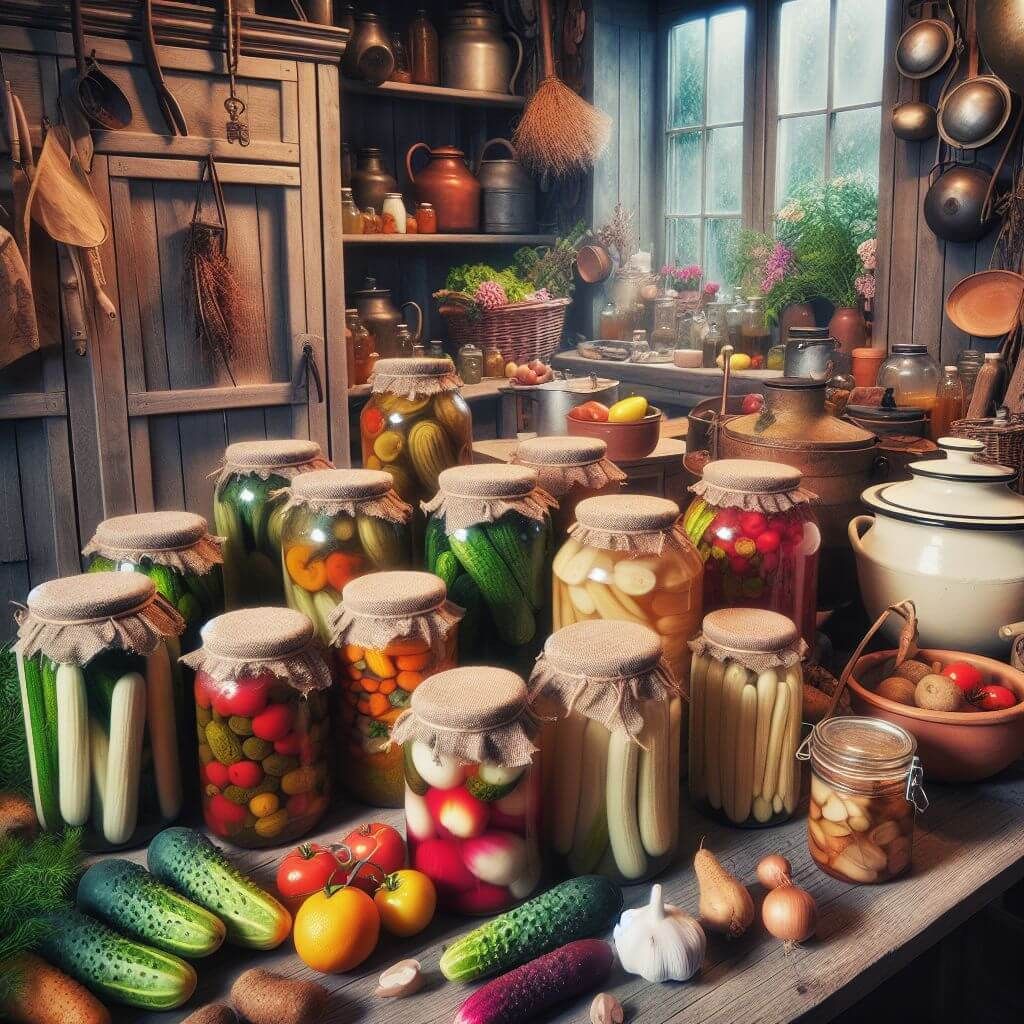
Why Home Canning and Fermentation Matter for Self-Sufficiency
When we talk about self-sufficiency, we’re talking about the power to sustain ourselves without relying on external sources. And nothing spells self-reliance more than being able to preserve your food. Home canning and fermentation are two preservation techniques that have been used for generations to keep food edible for longer periods, ensuring that you have access to your harvest year-round.
The Role of Preservation in Survival
Think of preservation as your personal food insurance policy. It’s the safety net that catches you when the grocery shelves are empty, or when a disaster disrupts supply chains. By preserving your food, you’re taking control of your sustenance and securing your family’s future no matter what comes your way.
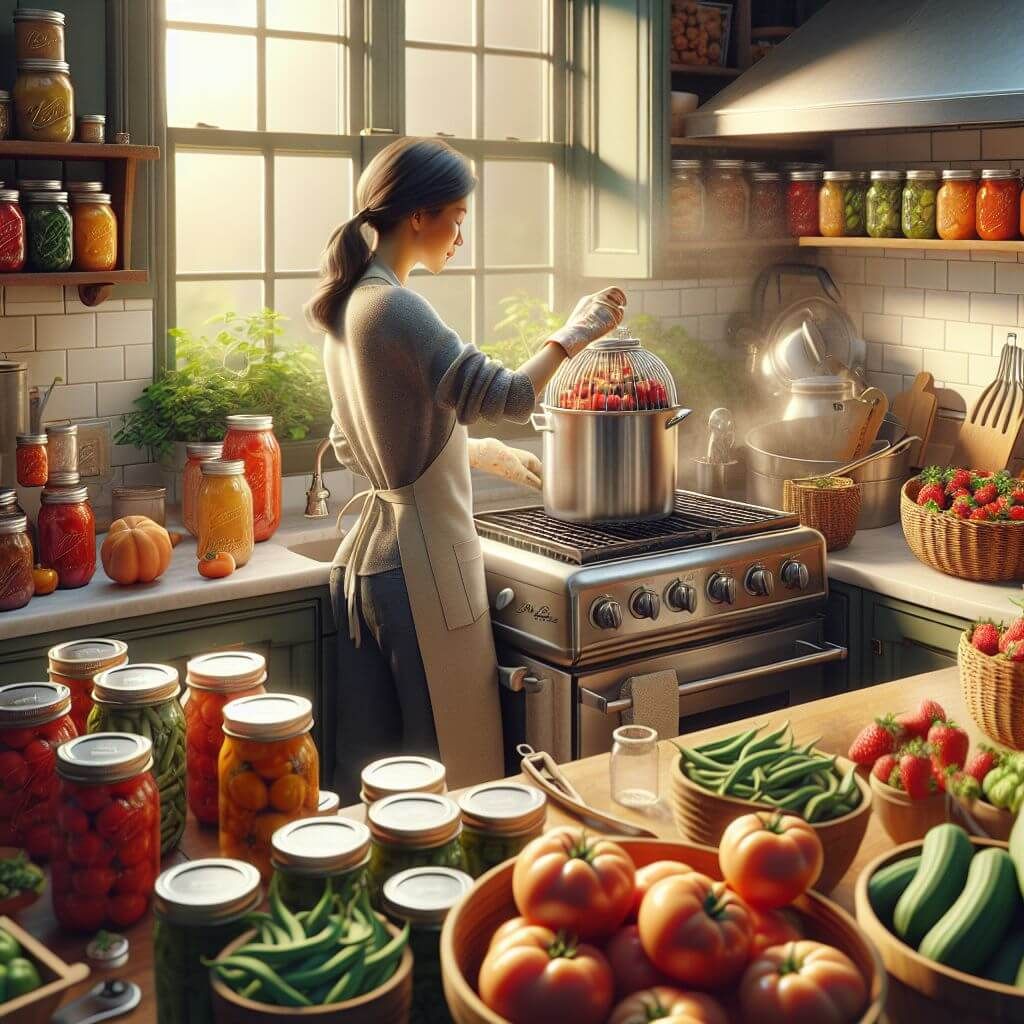
How Home Canning Enhances Food Security
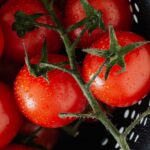
With home canning, you’re not just locking in freshness; you’re locking out uncertainty. High-acid foods like tomatoes and fruits can be canned easily using the water bath method, while low-acid foods require the use of a pressure canner to prevent the risk of foodborne illnesses. It’s a simple yet profound way to ensure that your pantry is always stocked.
The Health Benefits of Fermented Foods
Besides extending shelf life, fermentation transforms your foods in a way that boosts your health. Fermented foods are rich in probiotics, which are good bacteria that aid in digestion and enhance the absorption of nutrients. They’re not just preserved; they’re improved.
Starting Your Home Canning Journey
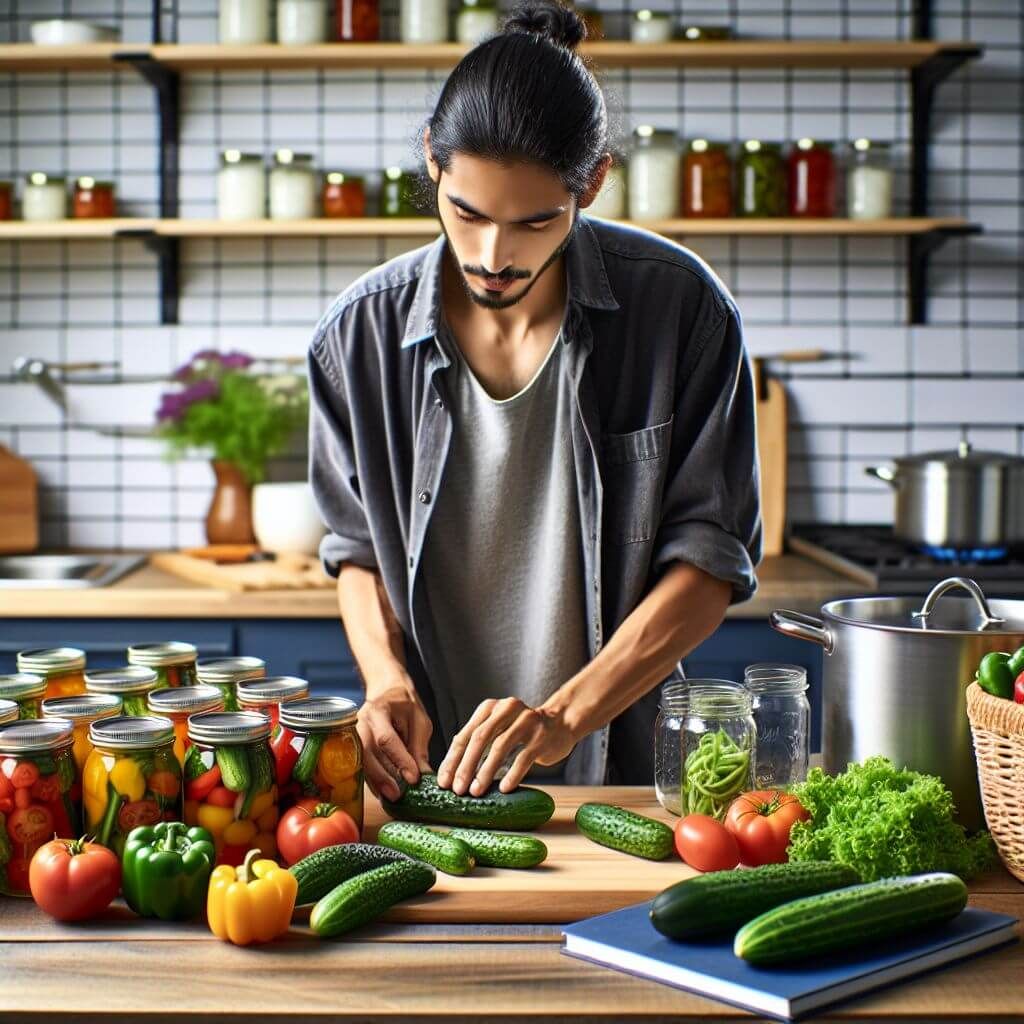
Embarking on your home canning journey might seem daunting at first, but it’s a lot simpler than you might think. And the rewards? Well, they’re worth every bit of effort. Let’s walk through the essentials to get you started.
Choosing the Right Equipment
Before you dive into canning, you’ll need some tools. Here’s a quick list:
- Glass jars with new lids and bands.
- A large pot for water bath canning or a pressure canner for low-acid foods.
- Jar lifters, to safely remove hot jars from boiling water.
- A funnel, to transfer food into jars without a mess.
- Non-metallic spatula, to remove air bubbles before sealing.
Each of these items plays a crucial role in the canning process, and it’s essential to use the right tools for the job to ensure your food is safely preserved.
Safety First: Understanding the Basics
Safety in canning cannot be overstated. You’re not just preserving food; you’re ensuring it’s safe to eat months or even years later. This means understanding the importance of sterilization, the signs of spoilage, and the correct processing times for different foods.
Most importantly, always follow tested recipes and guidelines from reliable sources like the National Center for Home Food Preservation or the USDA’s Complete Guide to Home Canning.
Simple Recipes to Begin With
If you’re just starting out, simple is best. Here are a couple of beginner-friendly recipes to try:
Classic Strawberry Jam: All you need are fresh strawberries, sugar, and pectin. Cook the strawberries and sugar until they reach a rolling boil, add pectin, and then boil for one more minute. Pour into sterilized jars and process in a water bath canner for 10 minutes.
Easy Dill Pickles: Cucumbers, vinegar, water, salt, dill, and garlic are the main ingredients. Pack the jars with cucumbers and dill. Boil vinegar, water, and salt, then pour over the cucumbers. Seal and process in a water bath canner for 15 minutes.
These recipes not only teach you the basics of canning but also reward you with delicious results that can be enjoyed throughout the year. Learn more about brewing teas and tinctures from your survival garden.
Fermentation might sound like a complex chemical process, but it’s really just a simple, natural way to enhance and preserve your food. It’s been around since the dawn of time, and once you get the hang of it, you’ll be fermenting everything from vegetables to dairy!
Let’s start with something basic – sauerkraut. It’s a great first ferment because it requires minimal ingredients and equipment. All you need is cabbage, salt, and a little patience.
So why ferment? Fermented foods like sauerkraut are not only delicious, they’re also packed with probiotics. These are the good bacteria that keep your gut healthy and your immune system strong. And in these times, who doesn’t want an extra health boost?
Step-by-Step Guide to Your First Ferment
Begin by choosing fresh, organic cabbage. Remove the outer leaves, slice it thinly, and place it in a large mixing bowl. Sprinkle with a good amount of sea salt – this draws out the water and creates a brine in which the cabbage will ferment.
Basic Sauerkraut Recipe: For every 5 pounds of cabbage, use 3 tablespoons of sea salt. Massage the salt into the cabbage until brine starts to form. Pack the cabbage tightly into a clean jar, pressing down until the brine rises above the cabbage. Seal with an airlock or a loose lid and let it sit at room temperature for at least 2 weeks. Check it periodically to ensure the cabbage remains submerged.
Once you’ve mastered sauerkraut, you can experiment with adding other vegetables or spices to create unique flavor combinations. The key is to ensure that your veggies are fully submerged in brine to prevent mold and spoilage.
Remember, the temperature of your room can affect the fermentation process. Warmer temperatures speed it up, while cooler temperatures slow it down. Keep an eye on your ferment and taste it occasionally to decide when it’s reached the flavor and texture you like.
Common Pitfalls and How to Avoid Them
While fermentation is forgiving, there are a few common mistakes to watch out for:
- Not using enough salt, which can lead to mold growth.
- Allowing air to get to the ferment, which can also cause mold.
- Impatience – fermentation takes time, and rushing it won’t give you the results you want.
To avoid these pitfalls, measure your salt carefully, ensure your vegetables are fully submerged, and be patient. Trust the process and you’ll be rewarded with delicious, probiotic-rich foods.
Advanced Canning Techniques for the Adept Homesteader
Once you’ve got the hang of the basics, you might want to try your hand at more advanced canning techniques. This is where you can really stock up your pantry and prepare for any situation.
Pressure canning is one such technique. It’s essential for preserving low-acid foods like vegetables, meats, and seafood. These foods need to be processed at a higher temperature to prevent the risk of botulism, a serious foodborne illness.
Pressure Canning: Preserving Low-Acid Foods
Pressure canning might sound intimidating, but it’s just a matter of following instructions and respecting the process. You’ll need a pressure canner, which is different from a pressure cooker. A canner is specifically designed to achieve the high temperatures needed to safely preserve low-acid foods.
The process involves placing your filled jars in the canner, sealing the unit, and heating it to a precise temperature for a specific amount of time. The exact temperature and time will depend on what you’re canning and your elevation.
Creating Your Flavor Profiles with Spices and Herbs
One of the joys of home canning is creating your own flavor profiles. You can transform a simple jar of pickles or tomato sauce into a gourmet delight with the right combination of spices and herbs.
When you’re experimenting with flavors, remember to add spices and herbs at the beginning of the cooking process. This allows their flavors to develop fully during canning. Some classic combinations include dill and garlic for pickles, basil and oregano for tomato sauce, and cinnamon and cloves for fruit preserves.
The Sustainability of Canning and Fermentation
Preservation isn’t just about having food on hand; it’s also about sustainability. By preserving your own food, you’re reducing waste and minimizing your carbon footprint. You know exactly what’s going into your food, and you’re cutting down on packaging and transportation costs associated with store-bought goods.
Plus, canning and fermentation are ways to honor the bounty of your garden or local farmers’ market. Instead of letting excess produce go to waste, you can transform it into something that will last for months or even years.
Reducing Waste with Preservation Methods
Every year, a staggering amount of food is wasted because it goes bad before we can eat it. By canning and fermenting, you’re extending the life of your food and ensuring that every bit of your harvest is used.
Long-Term Storage Solutions
Proper storage is key to making your preserved foods last. Canned goods should be kept in a cool, dark place like a pantry or cellar. Fermented foods, once they’ve reached the desired level of fermentation, should be stored in the refrigerator to slow down the process and keep them at their peak.
Here’s what you need to know about storing your preserved foods:
- Label and date your jars so you know when they were canned or fermented.
- Check seals on canned goods regularly to ensure they are still intact.
- Use foods within a year for the best quality, though many will last longer.
Remember, the goal is not just to survive, but to thrive. With a well-stocked pantry of canned and fermented foods, you’re well on your way to achieving that goal.
Dive In: Your Path to Mastering Home Canning and Fermentation
Embracing the journey of home canning and fermentation requires you to gear up with the right tools. It’s not merely about making things easier; it’s about guaranteeing your safety and the excellence of your preserved produce. Whether you’re a novice or planning to enhance your current equipment, I’ve got the recommendations you need. For those ready to incorporate home-grown produce into their canning ventures, exploring urban survival garden strategies could prove fruitful for optimizing harvests and boosting your food storage quality.
Essential Items for Starters
If you’re new to this fascinating world, concentrate on acquiring the essentials. Here’s a list of key items to kickstart your adventure:
- A robust water bath canner equipped with a jar-holding rack.
- An assortment of canning jars, complete with two-part lids (lids and bands).
- Non-metallic tools like a plastic bubble remover and a ladle.
- A dependable food scale for accurate measurements.
- A practical canning funnel to maintain clean jar rims.
These items represent your gateway into the captivating domain of home canning and fermentation. What’s more, you can conveniently find all these essentials under one roof.
Advanced Equipment Endorsed by Specialists
For those who’ve mastered the basics or are ready for an upgrade, ponder over these advanced tools highly endorsed by seasoned experts:
- A sturdy pressure canner, indispensable for canning low-acid foods.
- A fermentation crock complete with weights and a water seal for larger quantities.
- A pH meter to monitor acidity levels ensuring safe water bath canning.
- A vacuum sealer to preserve dried foods and marinades perfectly.
These additions will augment your preservation prowess, enabling you to safely can a broader variety of foods. Keen on broadening your self-reliance repertoire? Explore Survival Essentials‘ vast selection of high-quality seed products. To those keen on applying these practices within city confines, delve into urban survival gardening tips to supplement your food preservation efforts. Just remember, every great gardener started with a single seed.
Frequently Asked Questions
What Foods Can I Start Canning as a Beginner?
Starting with high-acid foods is the best for beginners. These include:
- Fruits like peaches, apples, and berries.
- Tomatoes, with added lemon juice or vinegar to ensure acidity.
- Pickles, using a vinegar-based brine.
- Jams and jellies, often naturally high in acid.
These foods are more forgiving and can be safely canned using a water bath method. As you gain confidence, you can move on to pressure canning and tackle low-acid foods like vegetables, meats, and fish.
How Long Do Fermented Foods Last?
Fermented foods, when stored properly, can last for several months and sometimes even longer. The key is to keep them in a cool, dark place like a refrigerator or cellar. Once you open a jar, make sure to use clean utensils to avoid contamination, which can shorten its shelf life.
Do I Need Special Equipment to Start Fermenting at Home?
Not at all! You can start with just a clean jar, some salt, and your chosen vegetables. However, for more consistent results and larger batches, you might want to invest in a fermentation crock and weights to keep your veggies submerged.
Can Home Canning Save Me Money?
Absolutely. By preserving your own food, you’re taking advantage of seasonal abundance and sales, reducing food waste, and cutting down on grocery costs over time. Plus, home-preserved foods often taste better and are healthier than store-bought canned goods.
Is There a Risk of Food Poisoning with Home Canning?
There is a risk if proper safety guidelines are not followed. It’s crucial to use tested recipes, ensure the correct acidity levels, and process jars for the recommended time. Always inspect jars before consuming and discard any with signs of spoilage, such as off odors or bulging lids.
In conclusion, home canning and fermentation are not just hobbies; they are skills that can significantly contribute to your self-sufficiency and well-being. With the right knowledge, tools, and a bit of practice, you’ll be well on your way to ensuring your survival and thriving through any situation. Embrace the journey, and remember, every jar you seal is a step towards a more sustainable and secure future.