
Key Takeaways
- Collard greens, kale, and spinach are nutrient-rich and ideal for beginner gardeners.
- Choose a sunny spot with well-draining soil to plant your greens.
- Planting times vary, but generally, early spring or fall is best for these greens.
- Regular watering, mulching, and organic fertilizing will help your greens thrive.
- You can enjoy a continuous harvest with succession planting and by trying new varieties.
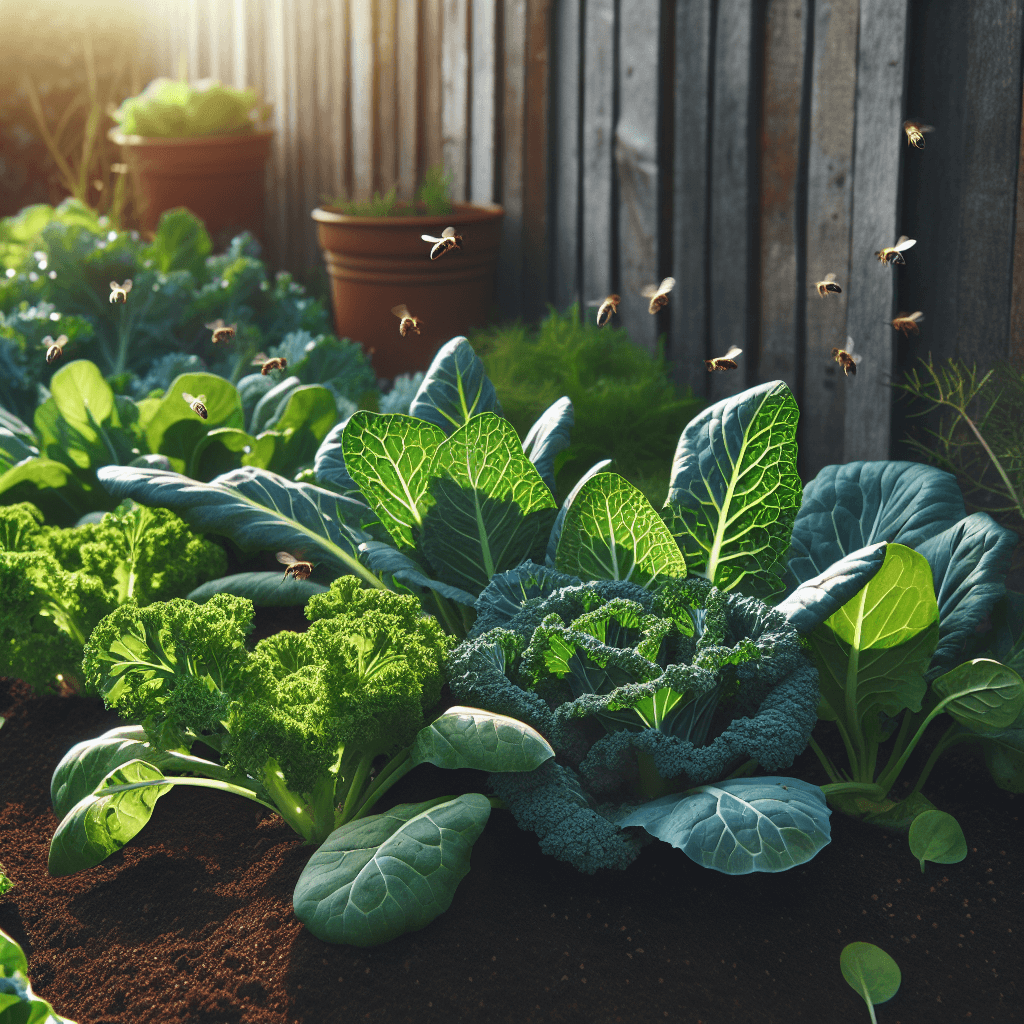
Gardening is a joy, a science, and an art form that allows us to connect with the earth and nourish our bodies and souls. If you’re eager to dive into the world of home gardening, there’s no better way to start than by growing collard greens, kale, and spinach. These leafy greens are not only packed with nutrients but also quite forgiving for beginners, making them perfect candidates for your garden.
Jumpstart Your Home Garden with Collard, Kale, and Spinach
Imagine stepping outside to your own garden and plucking fresh, crisp greens for your salad or smoothie. It’s not just a dream; it’s absolutely doable. With a little bit of know-how and some simple tools, you’ll be on your way to harvesting home-grown greens that are sure to be the envy of your neighborhood.
Benefits of Growing Your Own Greens
Why grow your own collard, kale, and spinach? For starters, you’ll be able to enjoy the freshest vegetables possible. But the benefits go beyond taste:
- You’ll know exactly what’s going into your food—no more worrying about pesticides or other chemicals.
- These greens are superfoods, rich in vitamins A, C, K, and minerals like iron and calcium.
- Gardening can be a therapeutic activity, reducing stress and providing a sense of accomplishment.
Quick Glance at What You’ll Need to Begin
Before we get our hands dirty, let’s ensure you have everything you need:
- Quality seeds or seedlings from a reputable source (more on that later).
- Well-draining soil, rich in organic matter.
- Garden tools: trowel, gloves, watering can or hose, and optional mulch or compost.
- A sunny spot in your garden or space for containers.
- A bit of patience and enthusiasm!
Choosing the Right Spot in Your Garden
Location is everything when it comes to gardening. Your greens will need a spot that gets plenty of sunlight—at least 6 hours a day. However, they can tolerate partial shade, especially in hotter climates where the afternoon sun can be too intense.
Understanding Sunlight Needs
Sunlight is crucial for your plants to photosynthesize and grow strong. Collards and kale are a bit more forgiving and can handle a bit less sun, but spinach truly thrives with a good dose of sunshine. Remember, the more light they receive, the lusher they will grow.
Soil Quality and Preparation
Your soil is the foundation of your garden. You’ll want to use soil that’s rich in organic matter—think compost or aged manure—which will provide nutrients and improve drainage. A simple test to see if your soil is ready is to squeeze a handful; if it holds together but crumbles when poked, it’s just right.
Planting Your Greens
Now, the exciting part—planting! You’ll want to start your greens at the right time. For most areas, early spring, as soon as the soil can be worked, is ideal. You can also plant in late summer for a fall harvest.
Best Time to Plant Collards, Kale, and Spinach
Most importantly, pay attention to your local climate. Collards and kale can handle cooler temperatures, so they’re perfect for spring or fall. Spinach prefers it a bit cooler, so early spring or fall is your best bet to avoid bolting (when plants flower and go to seed prematurely).
Seed Sowing and Spacing Tips
When sowing seeds directly into the garden:
- Plant seeds about 1/2 inch deep in the soil.
- Space collard and kale seeds 18 inches apart; spinach can be closer at about 6 inches.
- Keep the soil moist until seeds germinate and sprout.
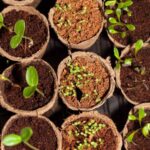
Transplanting Seedlings
If you’re starting with seedlings or prefer to get a head start indoors, you’ll want to transplant them once they have a couple of true leaves and the weather is suitable. Make sure to harden off your seedlings by gradually exposing them to outdoor conditions over a week before planting them in the garden.
Example: My neighbor, an avid gardener, always starts her collards and kale indoors in late winter. By the time spring arrives, she’s ready to transplant robust seedlings that quickly take off in the garden, giving her an early harvest.
Nurturing Your Greens to Maturity
Once your seedlings are snug in their garden bed, it’s time to focus on care. These plants aren’t too needy, but they do require consistent attention to water, nutrients, and the occasional pep talk (just kidding about the talk, but it can’t hurt!).
Watering Techniques for Optimal Growth
Water is the lifeblood of your garden. Your greens will need a steady supply to grow those tender, flavorful leaves we all love. Here’s how to get it right:
- Water deeply and less frequently to encourage strong root growth.
- Aim for about an inch of water per week, whether from rainfall or your hose.
- Water in the morning to reduce evaporation and prevent disease.
Be mindful of the weather, too. If it’s been particularly hot or dry, your plants may need a bit more H2O to stay hydrated.
Consistency is key. You don’t want your soil to dry out completely, nor do you want it waterlogged. Check the soil moisture by sticking your finger an inch into the ground. If it’s dry, it’s time to water; if it’s moist, your plants are good for now.
Fertilizing for a Nutrient-Boost
Even the best soil can use a boost. About a month after planting, consider giving your greens a little extra love with some organic fertilizer. Here’s what you should keep in mind:
- Choose a balanced, organic fertilizer—compost tea or a fish emulsion works wonders.
- Apply according to package instructions, typically around the base of the plants.
- Don’t over-fertilize, as too much nitrogen can harm your plants and reduce flavor.
Mulching to Protect Your Plants
Mulch is like a cozy blanket for your plants. It helps retain moisture, keeps weeds at bay, and can even regulate soil temperature. Spread a layer of organic mulch, like straw or shredded leaves, around your plants to reap these benefits.
Protecting Your Greens from Pests and Diseases

It’s not just humans who love collard greens, kale, and spinach—pests do too. And diseases can take hold if conditions aren’t right. But fear not; with some simple strategies, you can keep your greens healthy and thriving.
Organic Pest Control Tactics
To fend off unwanted visitors, try these organic methods:
- Encourage beneficial insects, like ladybugs, which eat aphids.
- Use floating row covers to keep pests off your plants.
- Plant companion plants, like garlic or onions, which can deter pests.
Inspect your plants regularly for signs of pests and deal with any infestations promptly to prevent them from spreading.
For larger pests like rabbits and deer, consider fencing around your garden or using natural repellents.
Spotting and Handling Common Leafy Green Diseases
Keep an eye out for signs of disease, such as yellowing leaves or spots. Good air circulation, proper watering, and crop rotation can prevent many common issues. If you do spot a problem, remove the affected leaves and dispose of them away from your garden to prevent the spread of disease.
Harvesting Your Bounty
After weeks of nurturing your greens, it’s finally time to enjoy the fruits—or rather, the leaves—of your labor. Harvesting at the right time ensures the best flavor and nutrition.
Signs Your Greens are Ready to Harvest
Here’s how to tell when it’s time to harvest:
- Collards and kale are ready when the leaves are about the size of your hand.
- Spinach can be picked when leaves are tender and big enough to eat—usually 2-3 inches long.
Don’t wait too long to harvest, or the leaves can become tough and bitter.
Harvesting Techniques to Maximize Yield
Harvesting your greens properly can encourage more growth. For collards and kale, snip off the lower leaves first, allowing the plant to continue producing from the top. With spinach, you can either pick individual leaves or cut the whole plant at the base to encourage a second growth spurt.
Storing Your Greens for Freshness
After harvesting, rinse your greens in cool water and pat them dry. For short-term storage, wrap them in a damp paper towel and store in the refrigerator. For longer storage, consider blanching and freezing your greens—they’ll keep for months and be ready for a quick sauté or stew whenever you need them.
Making the Most of Your Harvest
There’s nothing like the taste of home-grown greens. Use them fresh in salads, sautéed as a side dish, or blended into smoothies. But the fun doesn’t stop there—try these ideas to make the most of your harvest:
- Collard greens are great for wraps—use them in place of tortillas for a nutrient-packed meal.
- Add kale to soups or stews for a hearty texture and flavor.
- Spinach is perfect for omelets or quiches, adding a touch of green and a boost of vitamins.
Preserving Your Greens: Canning and Freezing Tips
Once you’ve harvested your greens, preserving them allows you to enjoy your garden’s bounty all year round. Canning and freezing are two popular methods for long-term storage. Here’s how to do it:
- Canning: Use a pressure canner for collard greens and kale. Blanch the greens, pack them into jars, cover them with boiling water, and process them according to the canner’s instructions.
- Freezing: Blanch your greens for two minutes, plunge them into ice water to stop the cooking process, drain, and pack them into freezer bags. Squeeze out as much air as possible before sealing and freezing.
Label your preserved greens with the date, so you’ll know when they’re at their best quality for use.
Planning Ahead for Continuous Harvest
To keep your kitchen stocked with fresh greens, plan for a continuous harvest. This means planting new seeds or seedlings at intervals throughout the growing season. This way, as one batch is being harvested, another is growing and will be ready to pick in the coming weeks.
Succession Planting Strategies
Succession planting is easy and ensures a steady supply of greens. For more information, check out our guide on urban self-sufficiency with heirloom seed kits.
- Every 2-3 weeks, sow a new batch of seeds in a different part of your garden.
- Keep track of planting dates and expected harvest times to manage your garden space effectively.
- As you harvest mature plants, replenish the soil and plant new seeds or seedlings in their place.
This method not only gives you fresh greens but also helps to outsmart pests and diseases that can build up in the soil.
Expanding Your Green Selection: Trying New Varieties
Don’t be afraid to experiment with different varieties of collards, kale, and spinach. Each variety has its own flavor and texture, and some may be more suited to your climate and soil than others.
Consider planting heirloom varieties or those with unique colors and shapes to add interest to your garden and your plate. You might find a new favorite!
FAQ
Got questions? You’re not alone. Here are some common queries that gardeners have when it comes to growing collards, kale, and spinach:
What is the difference between collard greens and kale?
Collard greens and kale are both members of the cabbage family, but they have distinct differences. Collards typically have large, smooth leaves and a milder flavor, while kale has curly, textured leaves and a slightly more bitter taste. Both are incredibly nutritious and versatile in the kitchen.
Can collard, kale, and spinach be grown in pots?
Absolutely! If you’re short on space, growing these greens in pots is a great option. Make sure to use a pot that’s at least 12 inches deep and has good drainage. Keep the soil moist and fertilize regularly for best results.
What should I do if my spinach starts to bolt?
If your spinach starts to bolt, it’s a sign that the plant is under stress, usually from heat. Once bolting starts, the leaves can become bitter. Harvest the remaining leaves, and consider planting a heat-resistant variety next time or using shade cloth to keep the plants cooler.
How can I protect my greens from frost?
To protect your greens from frost, cover them with a frost blanket or floating row cover when temperatures drop. You can also mulch around the base of the plants to help retain soil warmth.
What is the best natural fertilizer for leafy greens?
The best natural fertilizer for leafy greens is well-rotted compost or a balanced organic fertilizer. These provide a slow release of nutrients that support leafy growth without the risk of burning the plants, which can happen with synthetic fertilizers.
Remember, the key to a successful home garden is to start small, pay attention to your plants, and enjoy the process. With these tips, you’ll be well on your way to growing a lush, productive garden filled with the tastiest collards, kale, and spinach you’ve ever had. So roll up your sleeves, get planting, and prepare to savor the rewards of your home garden!