Welcome to the world of gardening, where the simple act of planting seeds can lead to a lush oasis right in your backyard. Borage, with its star-shaped flowers and refreshing cucumber taste, is not just a plant; it’s an adventure in your garden that awaits your enthusiasm and care. Let’s embark on this journey together and turn those borage seeds into a beautiful and bountiful part of your garden landscape.
Article-at-a-Glance: Borage Seed Cultivation Basics
- Understanding the aesthetic and culinary benefits of borage
- Key steps to prepare your garden for planting borage seeds
- Best practices for choosing the ideal location and soil conditions
- Tips for sowing, nurturing, and harvesting your borage plants
- Guidance on ensuring a continuous supply of borage for your garden
Why Borage Belongs in Your Garden
Imagine a plant that not only adds a pop of color to your garden but also brings a host of benefits to your table and the environment. That’s borage for you. It’s not just a pretty face; borage is a powerhouse of utility and beauty that deserves a spot in every beginner’s garden.
The Beauty and Utility of Borage
Borage, or Borago officinalis, is a wonder plant that’s as lovely to look at as it is useful. Its striking blue flowers attract pollinators like bees, which are essential for a healthy and thriving garden ecosystem. But the benefits of borage extend beyond its beauty. This plant is a fantastic companion for your vegetable crops, helping to ward off unwanted pests and improve the overall growth and flavor of your garden produce.
Vibrant Blooms and Savory Flavors
Most importantly, borage is not just for show. The leaves and flowers are edible, with a fresh, cucumber-like flavor that can enhance salads, garnishes, and even drinks. Imagine walking out to your garden and plucking a few borage flowers to add a special touch to your afternoon lemonade or a fresh salad. That’s the magic of growing borage – it’s an experience that delights all the senses.
First Steps: Preparing Your Planting Space
Before you can enjoy the fruits of your labor, you need to lay the groundwork. Preparing your planting space is the first critical step to ensure your borage seeds have the best start in life.
Choosing the Right Location
Borage isn’t too picky, but it does have a few preferences when it comes to its home. The plant thrives in a sunny spot with well-draining soil. Make sure to choose a location that gets plenty of sunlight throughout the day – at least 5 to 6 hours of direct sunlight is ideal. Borage can tolerate partial shade, but too much shade will limit its growth and flower production.
Soil Conditions for Thriving Borage Plants
The right soil conditions can make a world of difference. Borage prefers a soil pH between 6.0 and 7.0, which is slightly acidic to neutral. If you’re not sure about your soil’s pH, a simple test kit from your local garden center can help you find out. Here’s what you need to do to prepare the soil:
- Loosen the soil to about 12-18 inches deep. This will help the roots grow deeply and establish a strong plant.
- Mix in some organic compost to enrich the soil with nutrients. Borage loves rich soil, and this will give it a good head start.
- Ensure the soil is well-draining to prevent waterlogging, which can lead to root rot and other issues.
With these steps, you’re well on your way to creating the perfect environment for your borage seeds to sprout and grow. Stay tuned for more detailed instructions on planting, nurturing, and enjoying your borage plants.
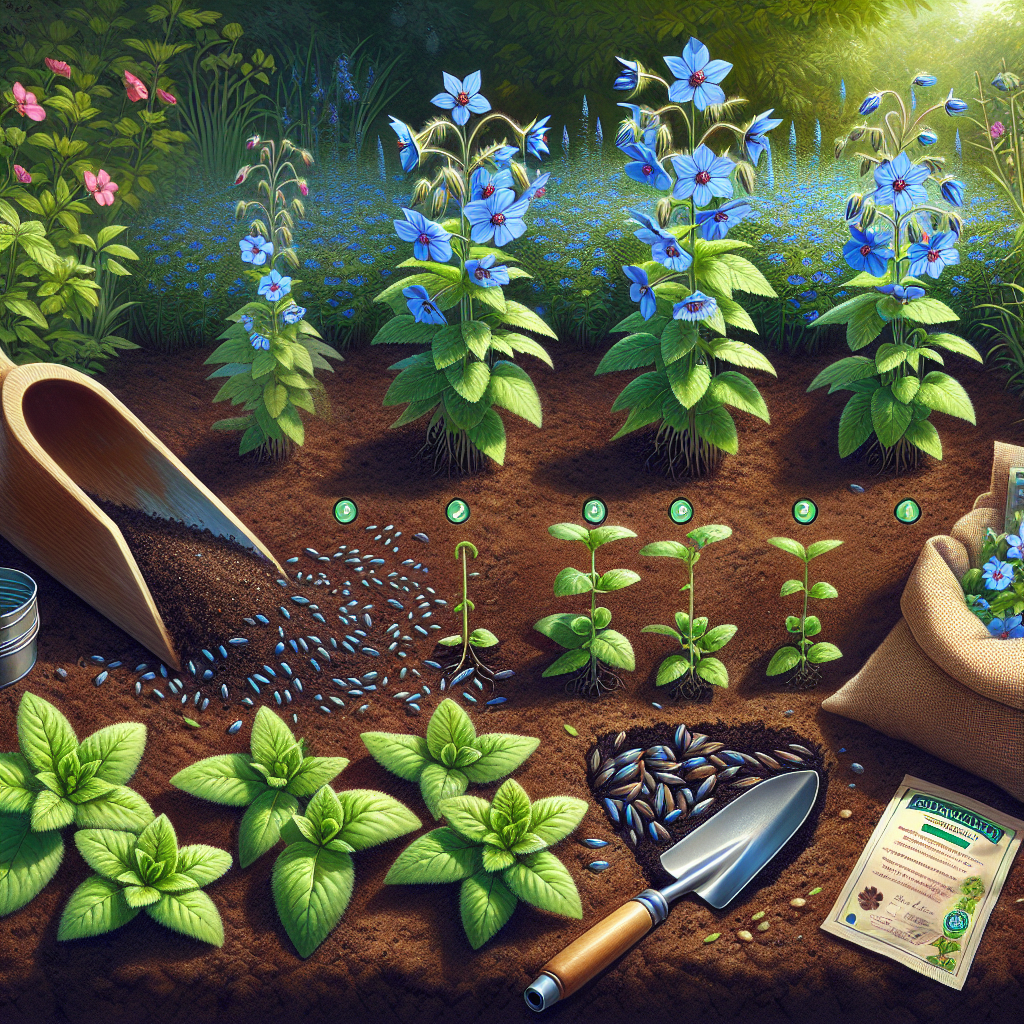
Planting Borage Seeds: A Walkthrough
With your garden bed prepped and ready, it’s time to move on to the exciting part – planting your borage seeds. This is where your gardening adventure really begins. Let’s get those seeds into the soil and start the countdown to sprouts!
Timing Your Planting for Success
Timing is everything when it comes to planting seeds. For borage, the best time to sow is in the early spring, after the last frost when the soil has warmed up a bit. You can also start seeds indoors a few weeks before the last frost date, and then transplant them outside when the conditions are right. This will give you a head start on the growing season and lead to earlier blooms.
Sowing Depth and Watering Techniques
When you’re ready to plant, here’s what you need to know:
- Plant the seeds about 1/4 to 1/2 inch deep in the soil.
- Space the seeds about 12 inches apart to give each plant room to grow.
- Cover the seeds lightly with soil and press down gently to make good contact with the earth.
- Water the area well, using a gentle spray to avoid disturbing the seeds.
Keep the soil moist but not waterlogged as the seeds germinate, which usually takes about 5 to 15 days. A good rule of thumb is to water whenever the top inch of soil feels dry to the touch.
Nurturing Your Borage Seedlings
Congratulations, your borage seeds have sprouted! Now, it’s crucial to provide the right care to nurture these seedlings into strong, flowering plants.
Monitoring Moisture and Sunlight Exposure
Young borage plants need consistent moisture and plenty of sunlight. Make sure they continue to get at least 5 to 6 hours of direct sunlight each day. Water the seedlings regularly, aiming for that balance of moist soil without overwatering. If you’re growing borage in containers, they may need more frequent watering as pots can dry out faster than garden soil.
When and How to Thin Seedlings
As your borage plants grow, they may start to crowd each other. Thinning is the process of removing some plants to allow the others enough space to develop fully. Here’s how to thin your borage seedlings:
- Wait until the seedlings are a few inches tall and have a couple of sets of true leaves.
- Choose the strongest seedlings to keep and gently pull out the smaller, weaker ones.
- Thin the plants to about 12-18 inches apart.
This might seem harsh, but it’s for the greater good. Thinning ensures that your remaining plants have the resources they need to thrive.
Managing Growth: Tips and Tricks
As your borage plants get bigger, they’ll need a bit more attention to manage their growth and keep them healthy. Here are some tips and tricks to help you along the way:
- Stake taller plants if necessary. Borage can grow quite tall and may need support to keep from falling over.
- Keep an eye out for pests and deal with them promptly. Natural remedies like neem oil can be effective and are safer for your garden and the environment.
- Pinch out the growing tips of the plants to encourage bushier growth and more flowers.
With these steps, your borage plants will be well on their way to providing you with a bounty of beautiful blooms and tasty leaves. Remember, gardening is a learning process, so don’t be afraid to experiment and find what works best for you and your plants.
Cultivating Strong, Healthy Plants
As your borage plants grow, you’ll want to ensure they’re not just surviving, but thriving. Strong, healthy plants are more resistant to pests and diseases and will yield a better harvest. To achieve this, consider the following:
- Make sure your borage plants continue to get full sun exposure.
- Water deeply but infrequently to encourage strong root growth.
- Mulch around the base of the plants to retain moisture and suppress weeds.
Remember, the goal is to create robust plants that can stand up to the challenges they might face in the garden.
Practical Advice for Feeding and Weeding
Feeding your borage plants is all about balance. Too much fertilizer can lead to lush foliage at the expense of flowers, while too little can stunt growth. Here’s how to feed your borage plants:
- Use a balanced, organic fertilizer sparingly, especially if you’ve already enriched the soil with compost.
- Apply a liquid seaweed solution or compost tea every few weeks to provide a gentle nutrient boost.
When it comes to weeding, be diligent but gentle. Disturbing the soil too much around borage can harm its roots. Pull weeds by hand or use a hoe carefully to avoid damaging your plants.
Defense Against Pests and Troubles
Borage is relatively hardy, but like all plants, it can encounter pests and problems. Being proactive is key to keeping your plants healthy.
Common Pests and Organic Control Methods
While borage is known for deterring pests, occasionally some may appear. Aphids and caterpillars are the most common culprits. To manage these pests organically:
- Encourage natural predators like ladybugs and lacewings into your garden.
- Use a strong jet of water to knock aphids off the plants.
- Apply a neem oil spray as a natural insecticide if infestations persist.
These methods are not only effective but also safe for your garden’s ecosystem.
Spotting and Tackling Borage Diseases
Borage can occasionally suffer from powdery mildew or root rot. To prevent these diseases:
- Ensure good air circulation by spacing plants properly and avoiding overcrowding.
- Water at the base of the plant to keep the foliage dry and reduce the risk of fungal diseases.
- If you spot powdery mildew, remove affected leaves and apply a baking soda and water mixture as a preventative measure.
By being vigilant and taking immediate action, you can often stop diseases before they become serious problems.
Enjoying the Harvest: Your Borage Bounty
After nurturing your borage plants, the time will come to enjoy the fruits of your labor. Borage is not just a feast for the eyes but also for the palate.
How and When to Harvest
Borage leaves and flowers can be harvested throughout the growing season. For the best flavor:
- Pick young, tender leaves before the plant flowers for a milder taste.
- Harvest the star-shaped flowers just after they’ve opened, typically in the morning when their flavor is most potent.
- Use scissors or your fingers to gently remove leaves and flowers to avoid damaging the plant.
Borage leaves can be used fresh or dried for later use, while the flowers make a delightful garnish or addition to drinks and desserts. Harvesting regularly can also encourage the plant to produce more leaves and flowers, extending your bounty even further.
With these tips, you’re well on your way to growing borage successfully. Remember, gardening is as much about the journey as it is about the destination. Enjoy every step, from the first sprout to the last harvest, and know that with each seed you plant, you’re growing not just a garden, but a greener, more sustainable world.
Storage and Usage of Borage Leaves and Flowers
Once you’ve harvested your borage, the next step is to store and use your bounty. Fresh borage leaves can be kept in the refrigerator for a few days, wrapped in a damp paper towel and placed in a plastic bag. For longer storage, borage leaves can be dried or frozen. To dry borage leaves, hang them in a warm, airy place out of direct sunlight until they are crisp. Store them in an airtight container away from light and moisture. Dried borage leaves can be crumbled and used in soups, stews, or as a garnish.
Borage flowers are best enjoyed fresh but can also be crystallized or frozen in ice cubes for a decorative touch in drinks. To crystallize, brush the flowers with egg white, sprinkle with superfine sugar, and let them dry. This method preserves their vibrant color and delicate shape, making them perfect for decorating cakes and desserts.
Propagation and Future Growth
After enjoying the beauty and flavor of borage, you’ll likely want to ensure a continuous supply in your garden. Propagation is the key to this sustainable cycle.
Collecting and Storing Borage Seeds
Borage will self-seed readily, but if you want to collect seeds for controlled planting or sharing, here’s how:
- Wait for the borage flowers to fade and form seed pods.
- Once the pods are brown and dry, gently collect them and remove the seeds.
- Store the seeds in a cool, dry place in a paper envelope or a jar with a desiccant pack to keep moisture out.
Properly stored, borage seeds can remain viable for up to three years, ensuring that you’ll have seeds for future plantings.
Dividing Borage for More Plants
Another method for propagating borage is by division. This is best done in early spring or fall when the plant is not in active bloom. Here’s the process:
- Choose a healthy, mature borage plant and carefully dig it up, trying not to disturb the roots too much.
- Using a sharp knife or spade, divide the root clump into smaller sections, each with several shoots and a portion of the root system.
- Replant the divisions at the same depth they were growing at originally and water them well.
This method allows you to expand your borage garden or share plants with fellow gardening enthusiasts.
Ensure a Lush Harvest with Quality Seeds
For a truly lush borage harvest, the quality of the seeds you start with can make all the difference.
Why Heirloom Seeds Are Superior
Heirloom seeds, like those from Survival-Essentials.com, are the gems of the gardening world. They are open-pollinated, which means they’ve been naturally pollinated by insects, birds, wind, or human hands. These seeds have been passed down through generations, maintaining their unique traits and flavors. Heirloom seeds are not genetically modified and are known for their superior taste and nutritional value.
Most importantly, by choosing heirloom seeds, you’re participating in the preservation of plant diversity and heritage. Plus, these seeds can be saved and replanted year after year, making them a sustainable choice for your garden.
Securing Your Borage Seed Supply
To secure your borage seed supply, consider purchasing from reputable sources that specialize in heirloom varieties. Survival-Essentials.com offers a wide selection of the best heirloom seeds, ensuring that your garden is stocked with robust, disease-resistant plants. Not only will you be investing in the quality of your garden this season, but you’ll also be safeguarding your ability to grow borage and other plants for years to come.
Remember, “Grow Your Own Food – Secure Your Family’s Future!” is more than a motto; it’s a way of life. By starting with quality seeds, you’re taking the first step towards self-sufficiency and a sustainable future.